Saturday, December 31, 2011

Trollface Stickers galore

Behold... my homemade trollface stickers!
U mad bro?
I made them over the weekend after a sudden strike of inspiration. I don't know why I didn't get to this idea sooner. The Trollface meme is at the height of its popularity, and I for one still find it hilarious. Obviously, I didn't create these characters, but my process on making them into stickers is completely my own. Besides...wouldn't it be cool to be a troll IRL sometimes?

I made a few various styles of these stickers. I added a few Me Gusta and Forever Alone into the bunch, as well as 2 different sizes of "classic" troll faces.


I chose not to use printable adhesive labels/paper to make these stickers. Instead, I opted for putting industrial double stick tape on the back of each print. It takes a little longer, and probably costs a bit more, but I really like how the double stick tape works for stickers. Previous test stickers I've made with this stuff were definitely not easy to peel off of surfaces. The trollfaces will be no exception- They're pretty much impossible to be completely removed from something once they're stuck down. Trololol!


There was one more thing I had to do with this project before I could be satisfied. These trolls need a fancy place to be kept while they await use, so I went ahead and made special tiny troll envelopes. I printed them out and assembled each individually by hand. They turned out really great, and definitely add value to the stickers over all. In fact, I think I ended up liking the envelopes more than the stickers themselves!

 
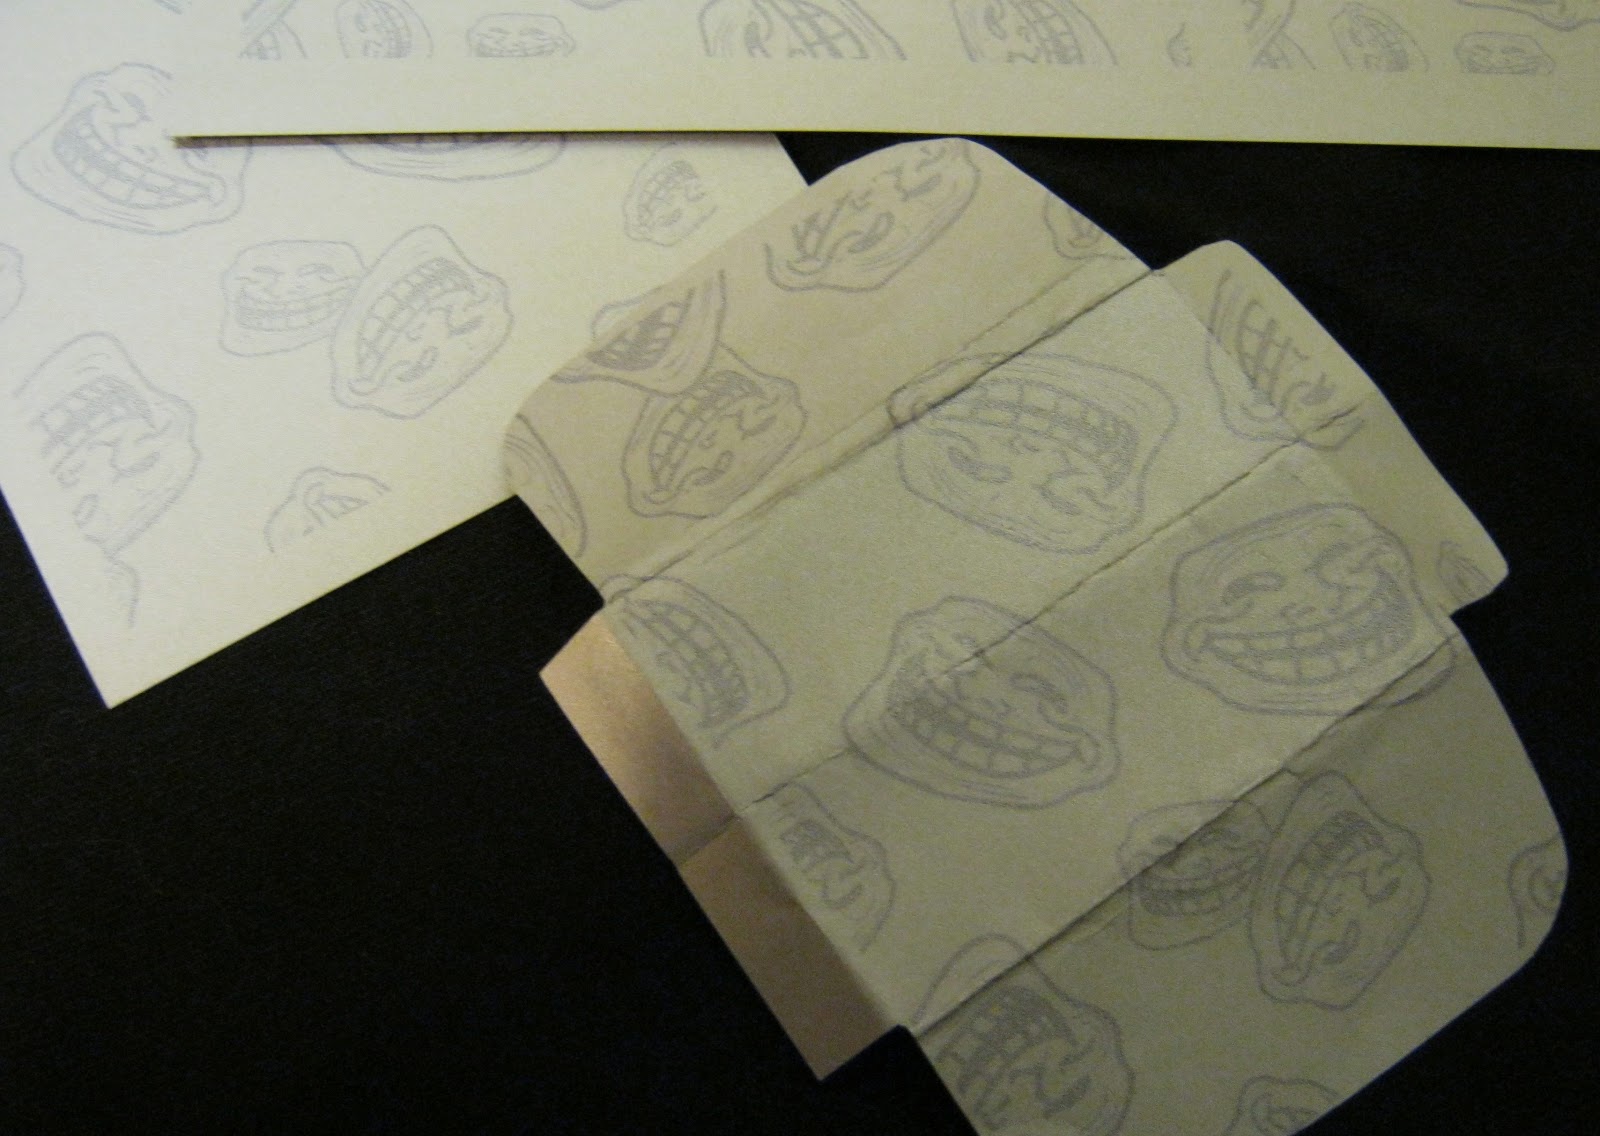
These guys turned out being a hit at a recent birthday party I attended. As a result, my first batch of stickers was pretty much depleted in one night! Fortunately they're super fun to make so I won't have any problem generating more. My next batch will be improved- I'm adding the "Y U NO?" character in the bunch.


Get a pack for yourself! This pack includes 3 medium classics, 5 small classics, 1 forever alone, 1 y u no and 1 me gusta. But we can mix and match if you'd prefer. Feel free to contact me with any questions or requests.
$5.00

Wednesday, December 21, 2011

Deliciously cute cookie pops for Yule


Happy new years everyone! I'm feeling especially festive today. To celebrate the holiday seasons, I made some cute cookie pops for everyone to enjoy during my family's little yule-tide festivites. They're really simple to make, so as a little gift from me to you, I'm gonna share the recipe for these artsy treats:

 Ingredients-
  1. Cookie Dough (pre-cut squares will work the best)
  2. Vanilla frosting
  3. Popsicle sticks
  4. Food coloring
  5. Sprinkles and other edible embellishments (optional)
All you need to do is insert a popsicle stick horizontally (not sticking straight up) in the cookie dough, pointing towards the middle of the cookie. Arrange them on a pan like normal, except try to keep the cookies and sticks from touching each other. Bake the cookies by the directions of their regular recipe. While they're baking, the sticks shouldn't burn in the oven, but it's probably a good idea to check on them now and then anyways.
How to make a lollypop cookie...

 The decorating is the fun part. This is where you can be creative. All you need is some vanilla frosting and your favorite color food dye. I was lazy and just used a butter knife and a paper plate to mix and decorate my cookies. I finished them off by putting some colorful sprinkles on top. You can use just about any edible topping as an embellishment to your cookie. The options are endless.. you can use granulated sugar sprinkles, m&m's, chocolate chips, or even jelly beans. It's up for you to decide.

By the way these, were a hit at all the family get-together's this year. I think people enjoyed the creative twist on such a holiday classic. It's such a simple thing to do, there's no reason you shouldn't give it a try one day! These would be perfect for events besides Christmas. Give them out at kid's parties or as birthday presents. They'd probably sell out at bake sales if packaged nicely.

My mom helped me set up this impromptu Christmas scene featuring Santa towels and our awesome cookie pops.

If anyone tries out this idea leave me a comment! Preferably with some cute pics of the results. I just love this idea, I cant get enough of it :P

Saturday, December 17, 2011

The skeleton man

Skeleton Man- India ink
I did this piece a while back but I'm still pretty attached to it. You can imagine why, since it has all of my favorite obsessions wrapped up into one package. Naturally, the things you feel passionately about always inspire more intriguing works of art. For me, was skeletons, sunglasses, and Ralph Steadman. If you haven't heard of this guy before, he's an incredible political cartoonist that did most of the illustrations for Hunter S Thompson. He was called to my attention when I watched Fear and Loathing in Las Vegas on DVD. On the menu screen it shows a clip of him scrawling out the title of the movie with pen and ink. He's completely mastered the skill of haphazardly slinging ink everywhere. After seeing this video, I had to try it for myself.

So, this piece is definitely channeling Steadman. It was also one of my very first experiences using india ink, so it was nice getting to be so loose and reckless with my pen strokes.  To keep motivated in learning this new media (which is now one of my strongest and most favorite to work with) I kept a quote from my newly favorite artist in mind:
Concept sketches surrounded by doodles.
By Ralph Steadman
"There's a saying: 'In art there is no such thing as a mistake -- a mistake is an excuse to do something else. That's how I feel about drawing and writing. I couldn't draw very well. I kept blotting things by accident, so I decided to make mistakes part of my work."

  Some artists (especially me) always strive for perfection in their work. Tiny stray lines, smeared colors, a crinkle in the paper spells failure in the eyes of some. But who's to say that these mistakes cant be embraced? After many projects where I tried to be perfect, this idea was exciting to me. I allowed myself to make mistakes as I carved out the Skeleton Man in ink. It was very freeing. And of course, you can't really pinpoint any of the areas I messed up, can you?


An eerie closeup of his bony face...

Salt used on india ink

Another cool trick I experimented with in this work was using table salt on the wet inks. Allowing salt to dry on newly applied paint will absorb some of the moisture and pigment, leaving a beautifully speckled design on your piece.
For my skeleton man, I think it's the specks that really bring the whole piece together. It gives an extra sense of color and textured in areas that otherwise would've been plain.


Since this piece was featured in a local art show, it's already professionally matted and ready to hang. If you're interested in buying the original, contact me for a negotiation of price.

Prints are also available. Each print is signed personally by me and come in a clear plastic sheet protector.
$10.00
By the way, Skeleton Man returns in my other infamous piece, Death's Designer Shoes. I can't get enough of this kid.

Wednesday, December 7, 2011

Makin' skeletons for the Christmas party

 So I've just been busy the past week or so whipping up a new project for the local comic shop's Christmas get-together. They always hold a massive auction of all sorts of oddities, this time including my cool skull art! I'm anxious to see how much my work will bid up to. The proceeds from some of the pieces will go towards buying my mom "The Walking Dead" comic series for Christmas. She loves the TV show and said she wanted to eventually read the real story. So hopefully, I'll make some money off of the whole thing. Here's what I'm entering:

This is what I like to call my disco skull. It's been floating around since last year's Christmas, when I made it for a charity art show ran by so called "local punk artists."  Unfortunately, they didn't appreciate my donation enough to even schedule a pick up, so consequently it was never sold. However, this year it's going off to a good home  and I'll (hopefully) never have to see it again!

It's actually a pretty interesting piece because it's purely pieced together with fabric and thread but it isn't soft or "quilty" at all; the whole thing was mounted to a tiny scrap of wooden board.

For the eyes, nose and mouth I got to use one of my favorite techniques, which is reverse applique. I discovered this method when a fellow artist introduced me to the Mola art form, done by Kuna women in Panama City.

I could never quite pull off the same intricate details that they do in a real mola, but I like to think that this piece was inspired by the style. The top fabric is cut away to reveal my shiny sequin fabric remnant (which just so happened to be the exact perfect size for this piece, go figure!)


The other item I'm putting into the auction is this cool little bag I've styled. Yes, I did use a blank tote bag instead of making my own, but I feel like I added at least some value to to it because I bedazzled the crap out of it. Well, technically, they aren't bedazzles, they're studs. Much cooler looking. 


I also had some extra big pyramid studs left over from an old belt, which are always a nice touch to an otherwise boring accessory.
The hands were done with gesso, which ensures that the print will not fade or degrade much over time. I also really like how gesso is such a strong white color. It doesn't take many layers at all to get a nice bright coat, especially against dark colors.

To bring the whole bag together (literally!) I added a closure made of ribbon, beads and elastic. I also added a little tag with my contact information and a message to the new owner:


The tag doesn't lie. This bag is going towards a genuine walking dead charity.. also don't be shy, if you're the owner of this bag leave me a comment and tell me what you think!


Of course I added a few "oldies but goodies" into the mix. Also up for sale are my fishy, mustaches and skulls keychains. I'm hoping that they'll bring in a few last minute impulse buys at the checkout aisle. Speaking of which, if you're interested in purchasing an awesome keychain for yourself, be sure to check out my craft shop! ;)


The auction is tomorrow, and I'll post my results then. I hope I make something off all my hard work! For the record, I'm starting my auctions for the disco skull and bag at $5 a piece. Wish me luck. It's gonna be a gruesome Christmas.